Title here
Summary here
September 5, 20223 minutes
안녕하세요?
오늘은 git 명령어 중에 stash에 대해 알아보겠습니다.
stash라는 영어 뜻은 숨겨둔 장소, 숨겨둔 것이라는 뜻이 있는데요.
코딩을 하다가 커밋하기는 좀 그렇고 임시적으로 테스트해볼 경우가 필요한데,
그렇다고 branch까지 만들어서 하기가 귀찮을 때 stash를 만들면 커밋 없이 아주 쉽게 원상 복구할 수 있습니다.
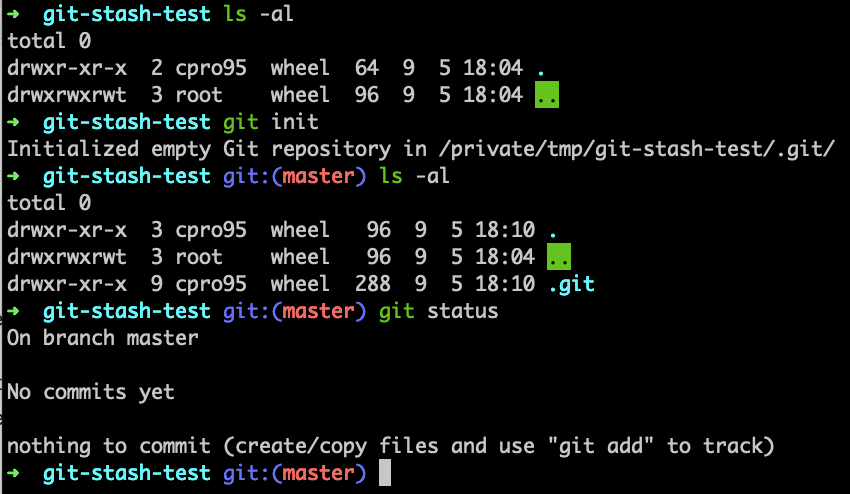
git stash 명령어의 실전으로 들어가기 위해 빈 디렉터리에 git 폴더를 만듭시다.
위 그림과 같이 만들었으면 이제 빈 파일을 추가해서 커밋 몇 개 해 보겠습니다.
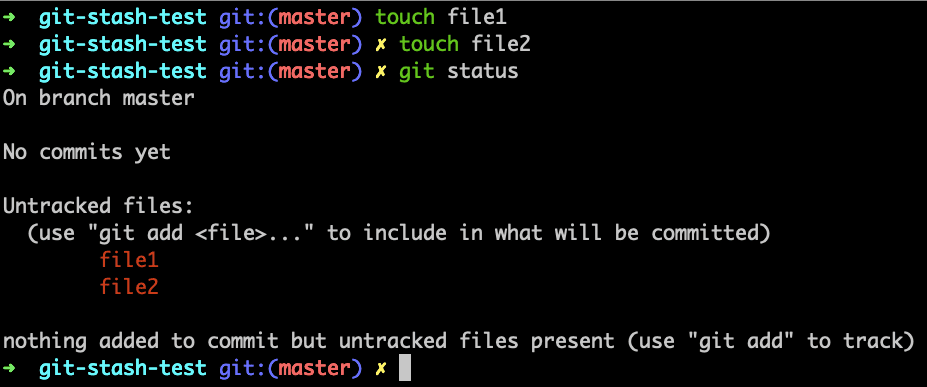
git status 상태를 보면 untracked files가 두 개 있다고 나오는데요.
git stash 명령어를 사용하려면 untracked 상태에서는 사용할 수 없습니다.
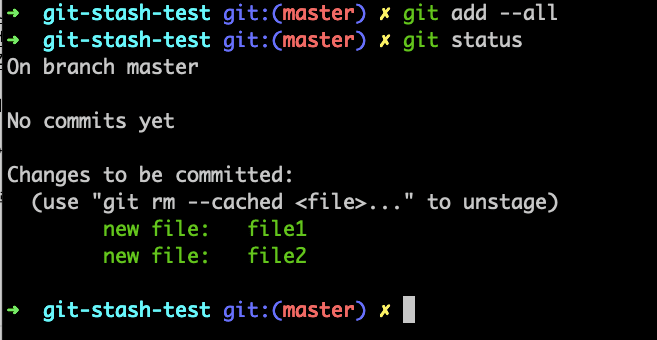
그래서 아래 명령어로 untracked files를 스테이징 해야 합니다.
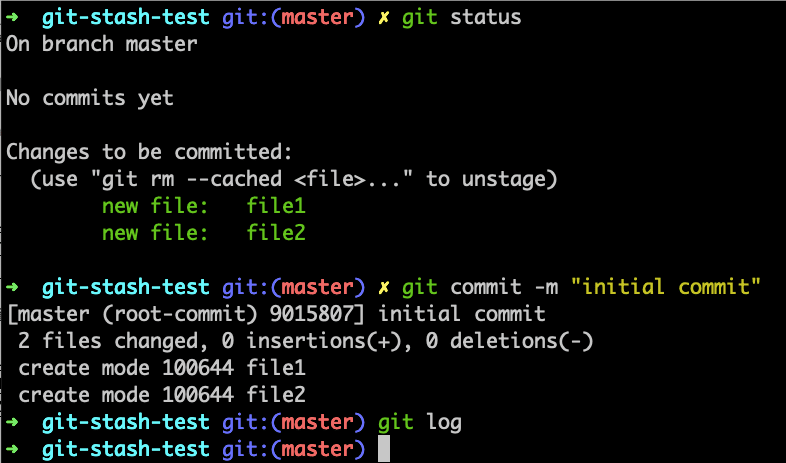
git add --all그리고 첫 번째 commit을 해야지 git stash를 사용할 수 있습니다.
git commit -m "initial commit"이제 git stash를 사용할 수 있는 상태가 되었는데요.
테스트를 위해 file1의 내용을 수정해 보겠습니다.
echo "test1111" >> file1
cat file1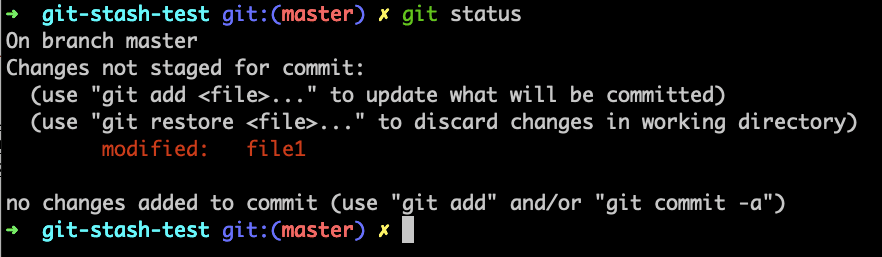
test1111이제 다시 git status 상태를 볼까요?
당연히 file1 파일의 내용이 바뀌었다고 나올 겁니다.
이 상태에서 git commit을 하던가 아니면 git stash를 할 수 있는데요.
약간 테스트를 위한 코드라고 생각한다면 git stash를 이용해서 코드를 숨겨둘 수 있습니다.
git stash 명령어는 아래와 같이 두 가지로 실행할 수 있는데요.
git stash

또는

git stash push -m "initial stash push"
꼭 두 번째 방법을 사용하시라고 권하고 싶습니다.
첫 번째 방법인, git stash를 만들면 현재 커밋된 정보를 가지고 stash 정보를 보여주는데요.
아래 그림처럼 헷갈립니다.
아래는 ‘git stash list’ 명령어를 치면 나오는 화면입니다.
그래서 꼭 두 번째 방법을 사용하여 commit 할 때와 같이 주석을 달아 주는 게 좋습니다.
아래 사진처럼 ‘git stash list’ 명령어를 쳐도 우리가 주석을 달았던 내용대로 stash 리스트가 나오고 있어 나중에 구분하기가 쉽습니다.
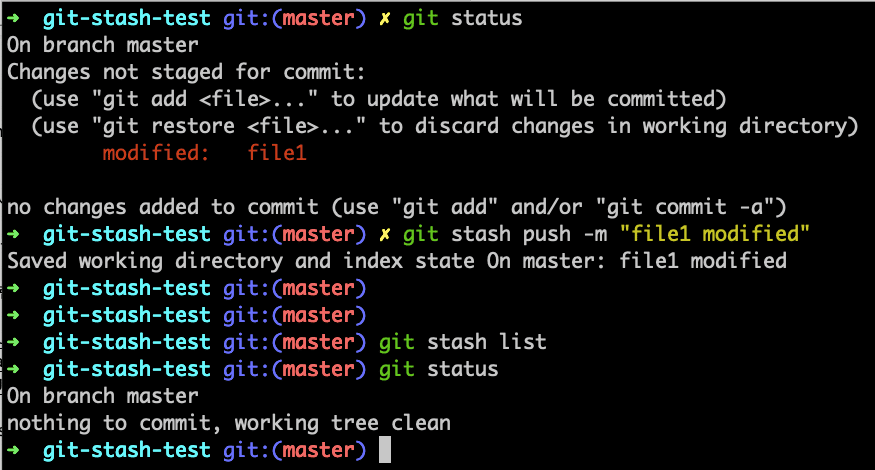
그런데 잘 보시면 아래 사진처럼 git stash 하고 난 다음 git status 명령어로 git 상태를 보면 아까 우리가 수정했던 file1 파일의 변경됐던 사항이 없어졌습니다.
바로 git stash 명령어로 아까 변경된 사항이 stash 즉, 숨겨둔 곳으로 이동됐다는 뜻입니다.
file1 파일을 열어봐도 아무것도 없다고 나올 겁니다.
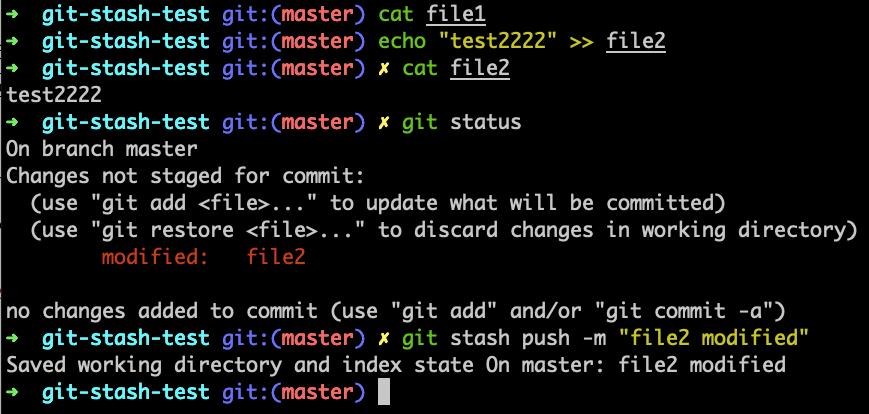
이제 두 번째로 file2 파일을 수정해 볼까요?
echo "test2222" >> file2
cat file2
test2222
이제 다시 git status를 쳐보면 file2가 변경됐다고 나올 겁니다.
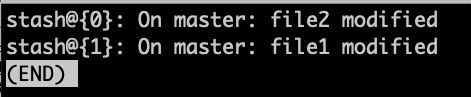
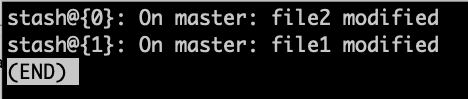
git stash list 명령어로 stash 리스트를 확인해 볼까요?
stash@{0}, stash@{1}처럼 인덱스 넘버가 우리가 알아보기 쉽게 나오고 있습니다.
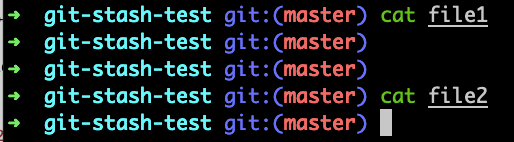
그럼, git stash 명령어를 두 개 한 후의 file1, file2의 내용은 어떻게 될까요?
아래 그림처럼 아무 내용이 없습니다.
왜냐하면 file1, file2 각각의 파일을 수정했을 때마다 git stash로 숨겨두었기 때문입니다.
위 사진에서 보듯이 파일 내용이 아무것도 없습니다.
그럼, git stash 한 걸 다시 코드에 적용해 볼까요?
git stash를 현재 코드에 적용하는 명령어는 다음과 같이 두 가지가 있습니다.
git stash apply
또는
git stash pop

git stash apply <index>
또는
git stash pop <index>
apply와 pop의 차이는 pop의 경우 해당 stash를 현재 상태에 적용하는데 stash 한 걸 지우고, apply는 지우지 않는다는 차이가 있습니다.
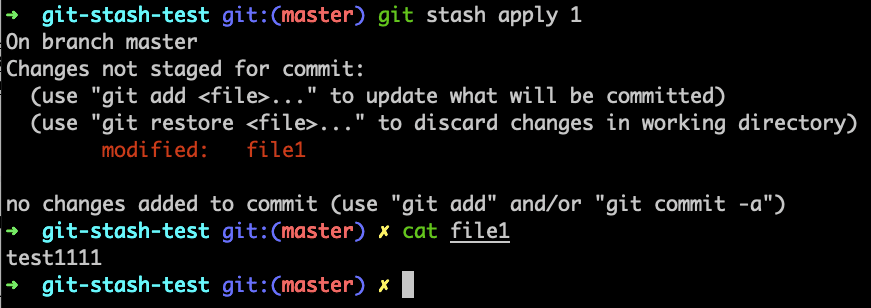
위 그림과 같이 stash 1번을 apply 했을 때 해당 내용인 file1 파일의 내용이 다시 돌아왔습니다.
apply 명령어를 적용했기 때문에 위와 같이 git stash list에 해당 stash가 그대로 남아 있습니다.
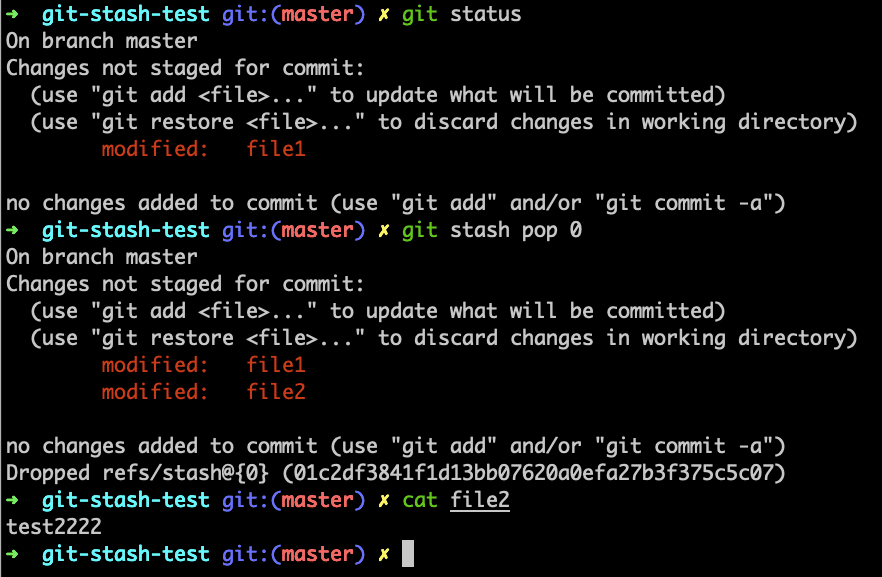
그럼 git stash pop 명령어를 적용해 볼까요?
그리고 stash list를 볼까요?
위 그림처럼 pop을 이용해서 stash를 현상태로 되돌릴 때 pop은 해당 stash를 지우게 됩니다.
참고로, apply랑 pop을 이용해서 stash를 복원했을 때는 git conflict가 발생할 수 있습니다.
이 때는 수작업으로 충돌되는 부분을 꼭 고쳐줘야 합니다.
마지막으로 stash를 지우는 방법에 대해 알아보겠습니다.
다음과 같이 해당 stash를 지울 수 있고 전체 stash를 지울 수 있습니다.
git stash drop <index>위와 같이 하면 해당 인덱스의 stash를 지울 수 있고
git stash clear위와 같이 입력하면 stash 전체를 지우게 됩니다.
지금까지 git stash에 대해 알아보았는데요.
git stash 기능은 git 명령어 중에 아주 유용한 기능이니 꼭 익혀두시기 바랍니다.
그럼.